“ 如果一整天下来你都不是很开心,那么今天一定不是个好日子!”
Mixed Content 1: mixed-content
之前的在本地通过 jekyll serve 测试好的博客项目上传到Github之后,碰到了问题: Mixed Content.
A: When a user visits a page served over HTTPS, their connection with the web server is encrypted with TLS and is therefore safeguarded from sniffers and man-in-the-middle attacks. If the HTTPS page includes content retrieved through regular, cleartext HTTP, then the connection is only partially encrypted; the unencrypted content is accessible to sniffers and can be modified by man-in-the-middle attackers, so the connection is not safeguarded. When a web page exhibits this behavior, it is called a mixed content page.
是的,这个Mixed Content分为两种
- Mixed passive/display content
- Mixed active content
solving过程中碰到的Failed to load resource的页面ERR_INSECURE_RESPONSE
因为index.html页面需要获取到某种字体的方式为http,而Github pages又是https服务的,所以chrome锁定了获取字体的页面请求,试过将http指定为https方式不行,试过New tab来获取字体所在网站证书貌似还是不行,虽然可以在获取index.html页面地址栏点开小卫士图标来确认加载未经验证的内容(也就是要get的css以及font咯),但不能每次都这样访问吧,且其他访问者都不会注意到这个内容吧,而且手机端chrome访问都没有小卫士可以点啊。后来到深夜,实在困的不行就更改了原script获取的link,事先将css以及font下载好放置在项目结构中,这样就不用跳出去其他网站来获取这几个相应的resource了。拿自己的Nexus5试了下,底部的Weibo, Facebook, and Github分享框算是能出现了。

Mixed Content 2: Passwordless Auto login on MacOS
前因: 在阿里云服务平台上购买了服务器,每次SSH登录都要认证感觉不爽。
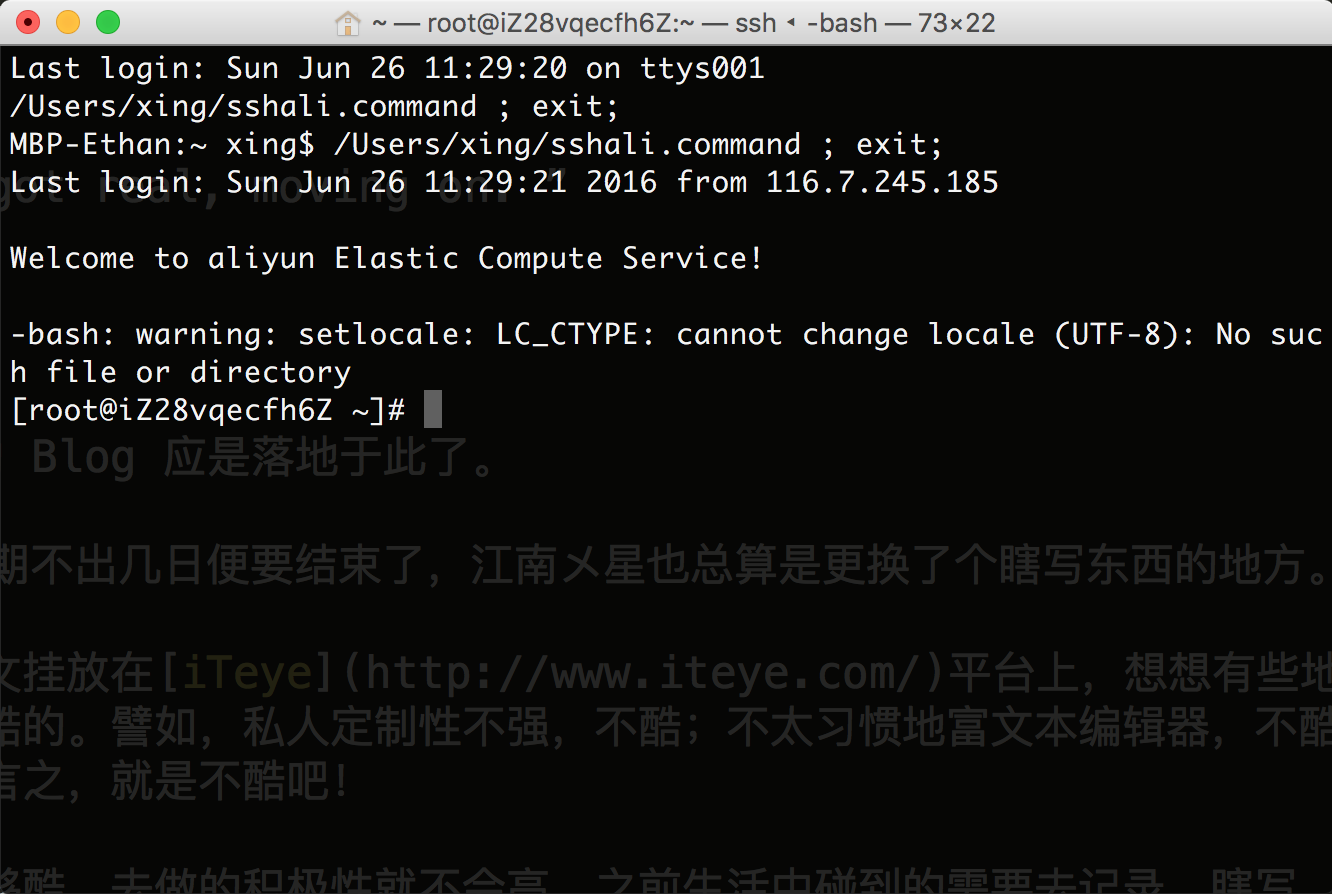
后果: 不改变Mac上使用 Terminal.app 的习惯,实现点击自动登录服务器。
之前使用Mac自带Terminal.app的体验很好,主要是很喜欢terminal.app提供的Theme: pro,然后ta也提供了ssh功能。使用SecureCRT等软件,需要打开软件,然后找到相应主机再打开,再输入密码,这,太不纯粹。
Google了一圈,感觉并么有多少够纯粹的方式,Solving过程中自己了解到相关的东西,用比较简单的方式搞定,分为两步:
- Login Passwordless
- Auto Login
Passwordless Login
Make a passwordless SSH Connection between MacOS and Linux Server
这一步需要做的就是在本地生成一份公钥和私钥,然后将公钥添加到服务器的认证列表中来实现会话中的Passwordless
本地公私密钥生成
# 在~目录下创建并更换其权限
~$ mkdir .ssh
~$ chmod go-rwx .ssh

#生成公钥和私钥,命令中最后的双引号没有给出私钥的密码,所以才实现Passwordless访问
.ssh$ ssh-keygen -b 1024 -t rsa -f id_rsa -P ""
执行完操作后本地端会生成 id_rsa 以及 id_rsa.pub。
远端公钥分享
将本地端生成 id_rsa.pub的内容,拷贝到远端。
#远端创建
.ssh$ touch authorized_keys
#本地内容拷贝
.ssh$ cat id_rsa.pub
ssh-rsa  AAAAB3NzaC1yc2EAAAABIwAAAIEA2CtcmYRmQJX04pZnrTPrU68BZMk9YlbI6CUcFUp
RVw29p V7mxW16wd/q9z7n+xytqdp4wsAc/7+24ZVikMhhRetEGr3LSBz5gm9980oTPEy61+pDP2y
jafShe5xcszIUnQ rN1ohCuF7Y/a/TG6G6gaJGcLexUiwfTRtCAbpuzfU= username@yourcomputer.local
使用Vim编辑器将文件内容拷贝好后更改权限。
.ssh$ chmod u-w authorized_keys
到此步之后再去SSH服务器可以实现Passwordless访问了。
Auto Login
这一步需要做的就是将输入 ssh serverdomain 的操作化成点击操作了。
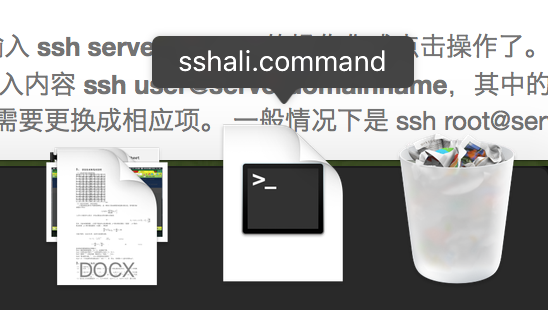
Mac上创建后缀为.command的文件,输入内容 ssh user@serverdomainname,将其放置在Dock栏中。
 其中的user字符以及serverdomainname字符需要更换成相应项。 一般情况下是 ssh root@yourServerIP 了。
至此Passwordless Auto Login on Mac 就完事儿了。
