背景须知
照片模式
| 1 | 1位像素,黑和白,存成8位的像素 |
| L | 8位像素,黑和白 |
| P | 8位像素,使用调色板映射到任何其他模式 |
| RGB | 3 x 8 位像素,真彩 |
| RGBA | 4 x 8 位像素,真彩 + 透明通道 |
| CMYK | 4 x 8 位像素,颜色隔离 |
| YCbCR | 3 x 8 位像素, 彩色视频格式 |
| I | 32 位整型像素 |
| F | 32 位浮点型像素 |
常见的照片格式中 .png 属于 RGBA 模式,而 .jpg 格式属于 RGB 模式,如下代码所示。
RGB 分别代表红、绿、蓝三个通道的颜色,这个标准几乎包括人类所能感知的所有颜色。
>>> import os, Image
>>> lsd = os.listdir('.')
>>> lsd
['.DS_Store', '2048.py', 'ascii.py', 'ascii_dora.png', 'createNecImg_0.5_.png', 'model2048.py', 'output.txt', 'test.png', 'trapic.py', 'utput.txt']
>>> im = Image.open(os.getcwd() + '/' + lsd[-3])
>>> im
<PngImagePlugin.PngImageFile image mode=RGBA size=1485x2110 at 0x109B718C0>
>>>

# example of some color
[0,0,0] — black
[255,0,0] — Red
[0,255,0] — green
[0,0,255] — blue
[255,255,255] — white
两张照片层叠的两种方式
-
两张照片同一点的像素按照一定比例叠加。假设两张照片同一点的像素分别为A、B,则层叠之后该点像素点为: A•alpha + B•(1-alpha) — (0 < alpha < 1)
-
正片叠底。结果色 = 混合色 * 基色 / 255,PS中也采用这种方式; 正片叠底的特点: 明度变化:混合色不会大于255,故结果色一定小于1,混合模式之后必定比基色暗。0为黑色,若混合两色中有黑色,混合之后必定是黑色。若有白色,则混合色为另外一色的原色。故正片叠底可以改变非黑即白,处于灰度区间的明度,变黑。可以采用操作像素点,提高像素点的亮度。
用到的库
PIL: Python Imaging Library
Numpy
Code
#coding: utf-8

from __future__ import division
import PIL
import Image
import numpy
import os
import random
import numexpr
import time
import ImageFont, ImageDraw
STAG = time.time()

# W_num: how many image in a row
# H_num: how many image in a hor
# W_size: width of an image
# H_size: height of an image
# root: root path of the script

root = "/Users/xing/Desktop/resoures/"
W_num = 13
H_num = 13
W_size = 640
H_size = 360

# aval: stored all of the image
aval = []
alpha = 0.5

def getAllphotos():
# 	root = os.getcwd() + "/"
	src = root + "photos/"
	for i in os.listdir(src):
		if os.path.splitext(src + i)[-1] == ".png":
			aval.append(src + i)


# formating the image size
def transfer(img_path, dst_width, dst_height):
	im = Image.open(img_path)
	if im.mode != "RGBA":
		im = im.convert("RGBA")
	s_w, s_h = im.size

	if s_w < s_h:
		im = im.rotate(90)

	STA = time.time()
	resized_img = im.resize((dst_width, dst_height))
# 	print "Transfer Func Time %s" % (time.time()-STA)
# 	print numpy.array(resized_img)[:dst_height, :dst_width]

	return numpy.array(resized_img)[:dst_height, :dst_width]


# create and save a new image
def createNevImg():
	iW_size = W_num * W_size
	iH_size = H_num * H_size

	I = numpy.array(transfer(root + "Ethan.png", iW_size, iH_size))
	I = numexpr.evaluate("""I * (1 - alpha)""")

	for i in range(W_num):
		for j in range(H_num):
			SH = I[(j * H_size):((j + 1) * H_size), (i * W_size):((i + 1) * W_size)]
			STA = time.time()
			DA = transfer(random.choice(aval), W_size, H_size)
# 			print "Call Func Time %s" % (time.time()-STA)
			res = numexpr.evaluate("""SH + DA * alpha""")
			I[(j * H_size):((j + 1) * H_size), (i * W_size):((i + 1) * W_size)] = res

	Image.fromarray(I.astype(numpy.uint8)).save("createNecImg_%s_.png" % alpha)


if __name__ == "__main__":
	getAllphotos()
	createNevImg()

	print "Total time %s" % (time.time()-STAG)
本脚本的核心部分
def createNevImg():
	'''
	'''
root+’Ethan.png’是要与拼接之后的照片进行层叠的照片. 利用numpy.array的方法将其转换成矩阵I, I的大小为(W_num•W_size, H_num•H_size),是伸缩照片生成矩阵的W_num•H_num倍; 调用numexpr.evaluate方法,将矩阵中每个元素都乘以(1-alpha).
接下来的双重遍历便是具体拼接的实现。
由于矩阵I的规模是伸缩照片生成矩阵的 W_num•H_num倍,所以我们从左向右,从上向下依次取(W_size, H_size)大小的矩阵SH
计算SH+DA*alpha,并将结果放回SH在I矩阵中位置。这里是将两张照片中相同一点的像素分别乘以(1-alpha)、alpha,然后相加,如此两个照片便层叠在一块。
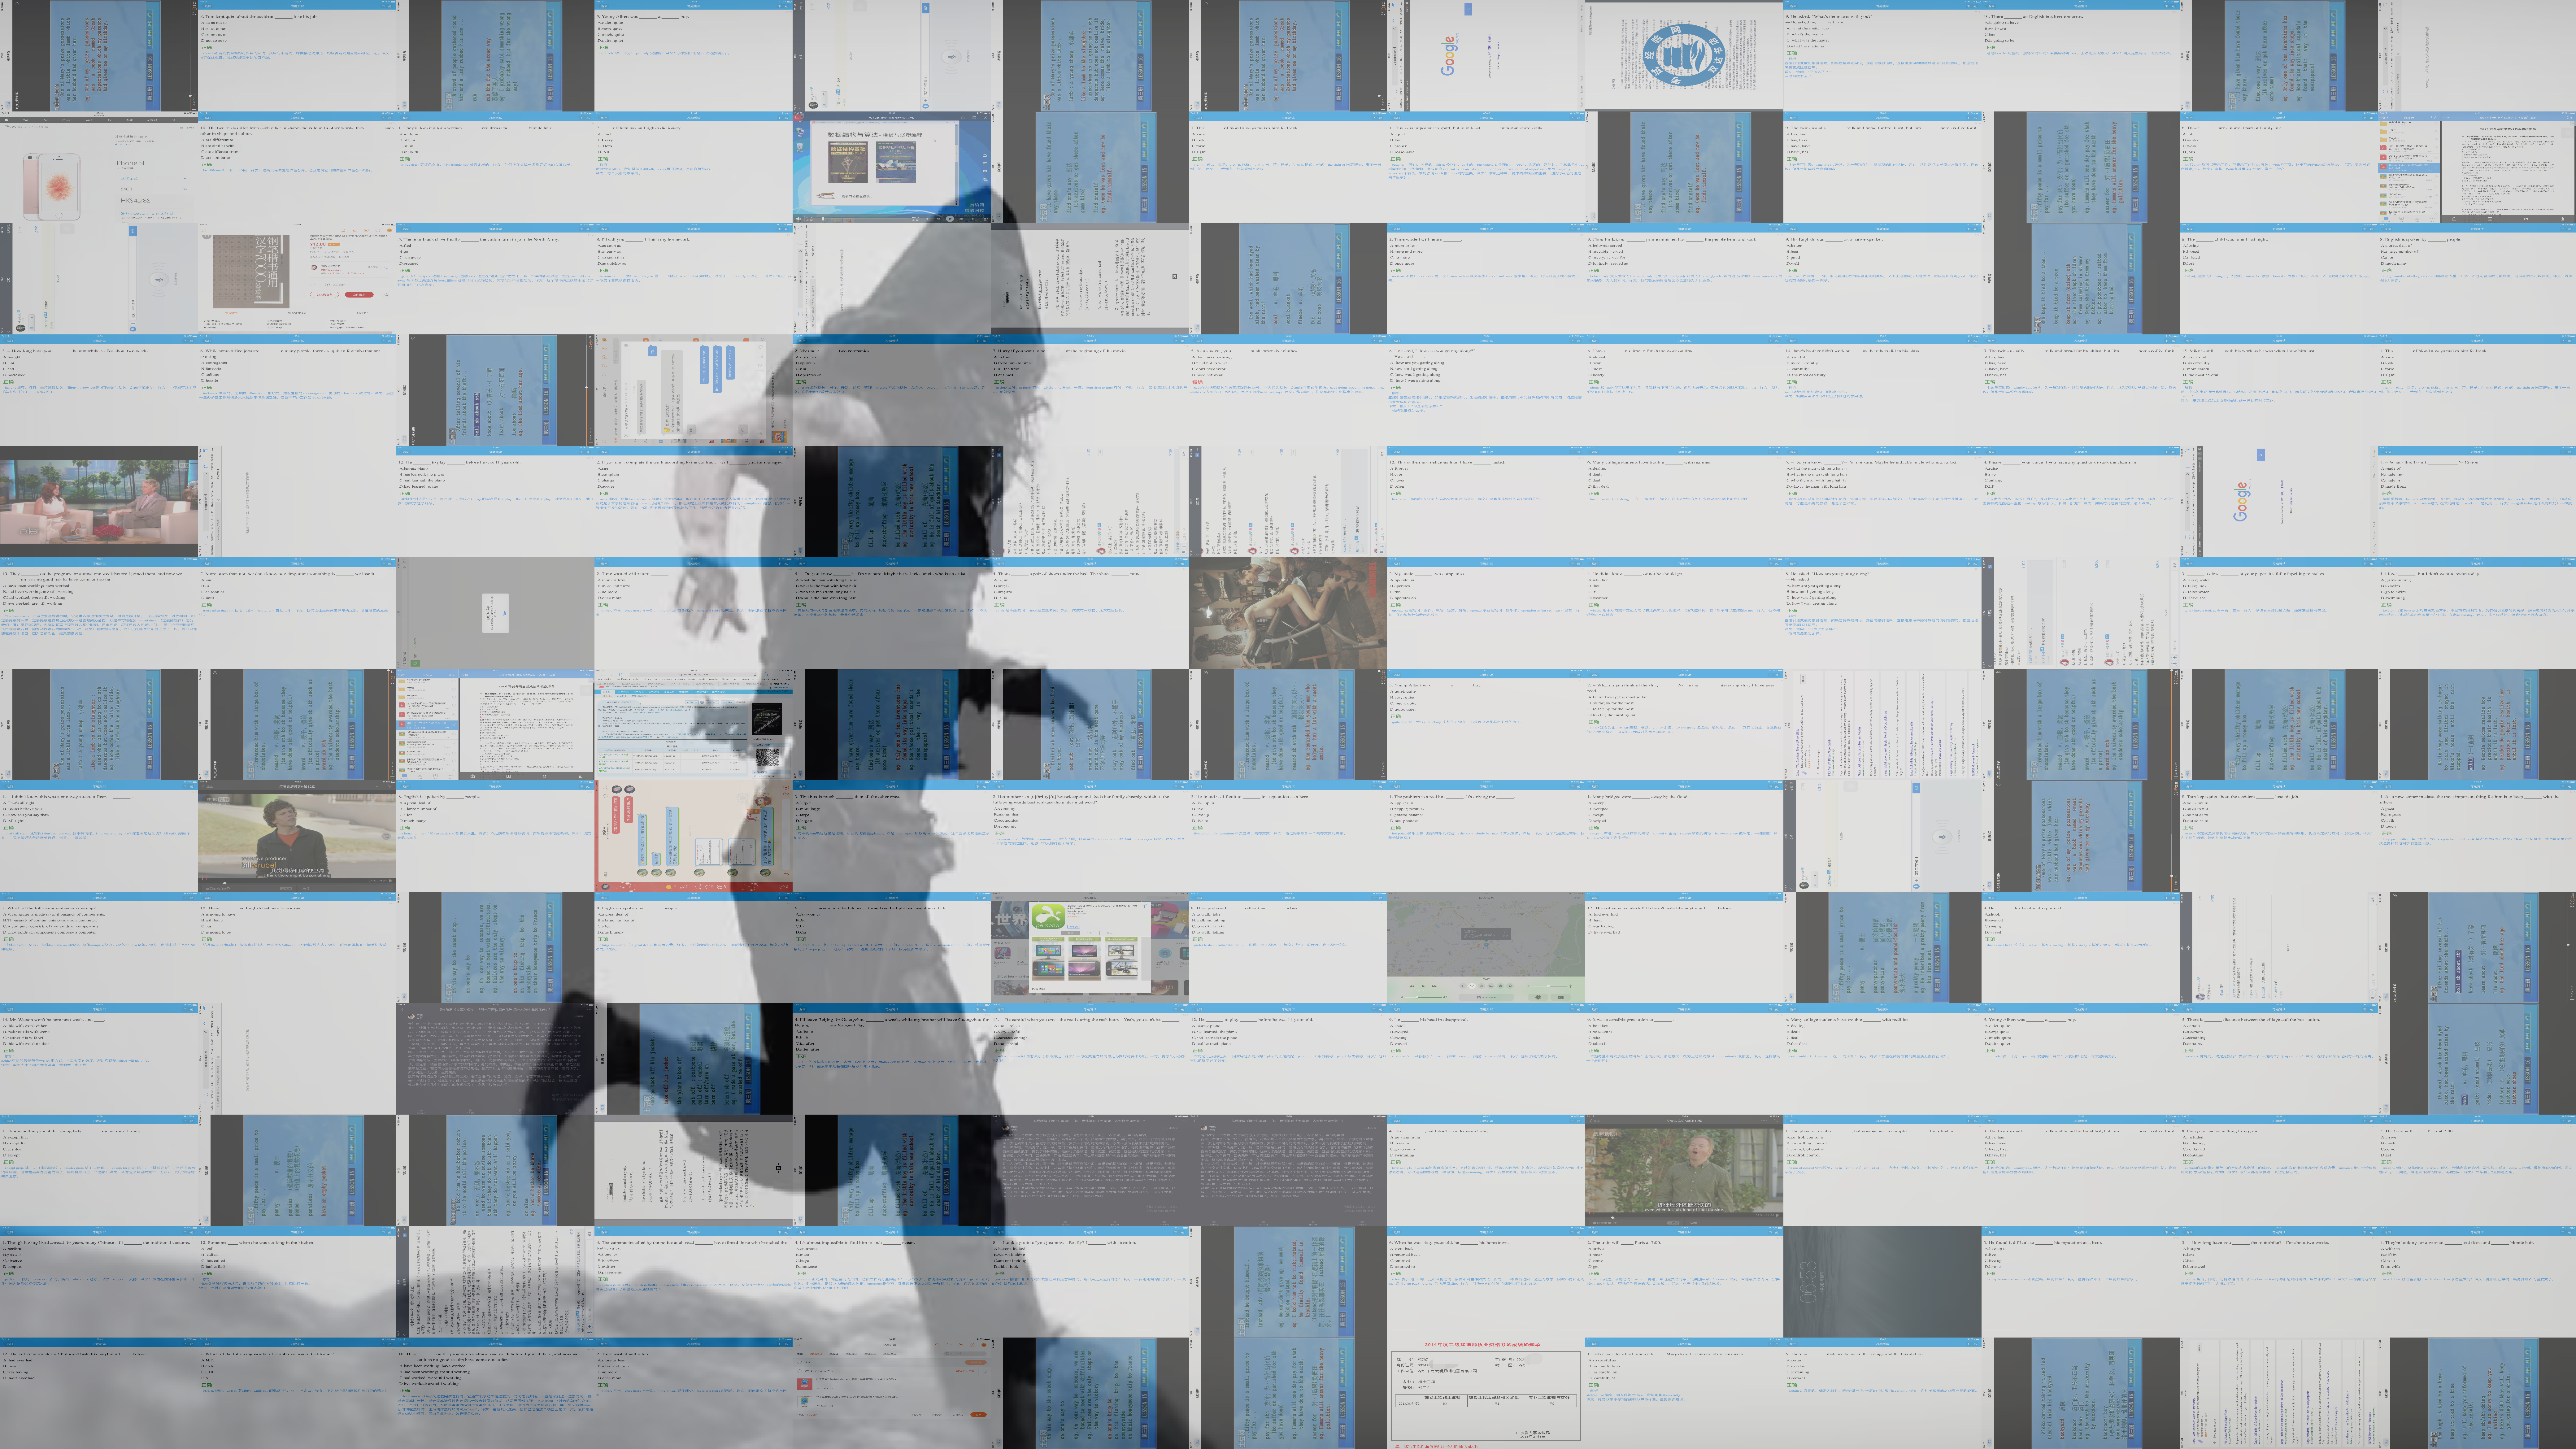
alpha的取值可以自己设置,这里设置的是0.5。且此处选择的层叠的方法是第一种,将两张照片同一点的像素按照一定比例想加,这里选择的是alpha=0.5。 调用fromarray方法将矩阵I转为图片对象,并保存为createNevImage_0.5_.png,照片如下图所示。
将本文的主题图用做了进行层叠的照片,运行代码得到如下效果图。用作拼接的是我 iPad 的图库中部分图片。

The Related
numexpr
os.path.splitext(path)
os.path.splitext(path)
	Split the pathname path into a pair (root, ext) such that root + ext == path, and ext is empty or begins with a period and contains at most one period. Leading periods on the basename are ignored; splitext('.cshrc') returns ('.cshrc', '').

	Changed in version 2.6: Earlier versions could produce an empty root when the only period was the first character.


>>> import os
>>> lsd = os.listdir('.')
>>> lsd[1][-4:]
'.jpg'
>>> lsd[10][-4:]
'.png'
>>> imPath = os.getcwd() + '/'
>>> imPath
'/Users/xing/Desktop/resoures/photos/Image/'
>>> os.path
<module 'posixpath' from '/System/Library/Frameworks/Python.framework/Versions/2.7/lib/python2.7/posixpath.pyc'>
>>> type(os.path)
<type 'module'>
>>> os.path.splitext(imPath + lsd[1])
('/Users/xing/Deskt	op/resoures/photos/Image/2014-11-15 102434', '.jpg')
>>> os.path.splitext(imPath + lsd[1])[-1]
'.jpg'
>>>
PIL.Image.from
PIL.Image.fromarray(obj, mode=None)
Creates an image memory from an object exporting the array interface (using the buffer protocol).

If obj is not contiguous, then the tobytes method is called and frombuffer() is used.

Parameters:
obj – Object with array interface
mode – Mode to use (will be determined from type if None) See: Modes.
Returns:
An image object.